How to Roll a Joint UK — Complete Step by Step Guide
Rolling a joint is a skill that many cannabis users in the UK want to master. Whether you’re interested in medical cannabis or recreational use, knowing how to roll a joint properly ensures you get the most from your experience. This comprehensive guide walks you through the process with practical tips and techniques suitable for UK users of all levels.
Understanding the Basics of Joint Rolling
Before learning how to roll a joint, it’s essential to understand what you’re working with. A joint is a cannabis cigarette made by rolling the substance in paper. According to recent surveys, approximately 42% of UK cannabis users prefer joints as their consumption method, making it the most popular technique in the country.
Rolling a joint requires patience, practice, and the right materials. Unlike mass-produced cigarettes, each joint is unique and reflects the skill of the person rolling it. The process involves grinding cannabis, distributing it evenly, rolling it tightly, and sealing it properly.
Gathering the correct materials before you start is crucial. You’ll need:
Rolling papers: Available in various sizes (1¼” and King Size are most common in the UK)
Filter tips or roach material: Cardboard or glass tips for stability
Grinder: A three-chamber grinder ensures even consistency
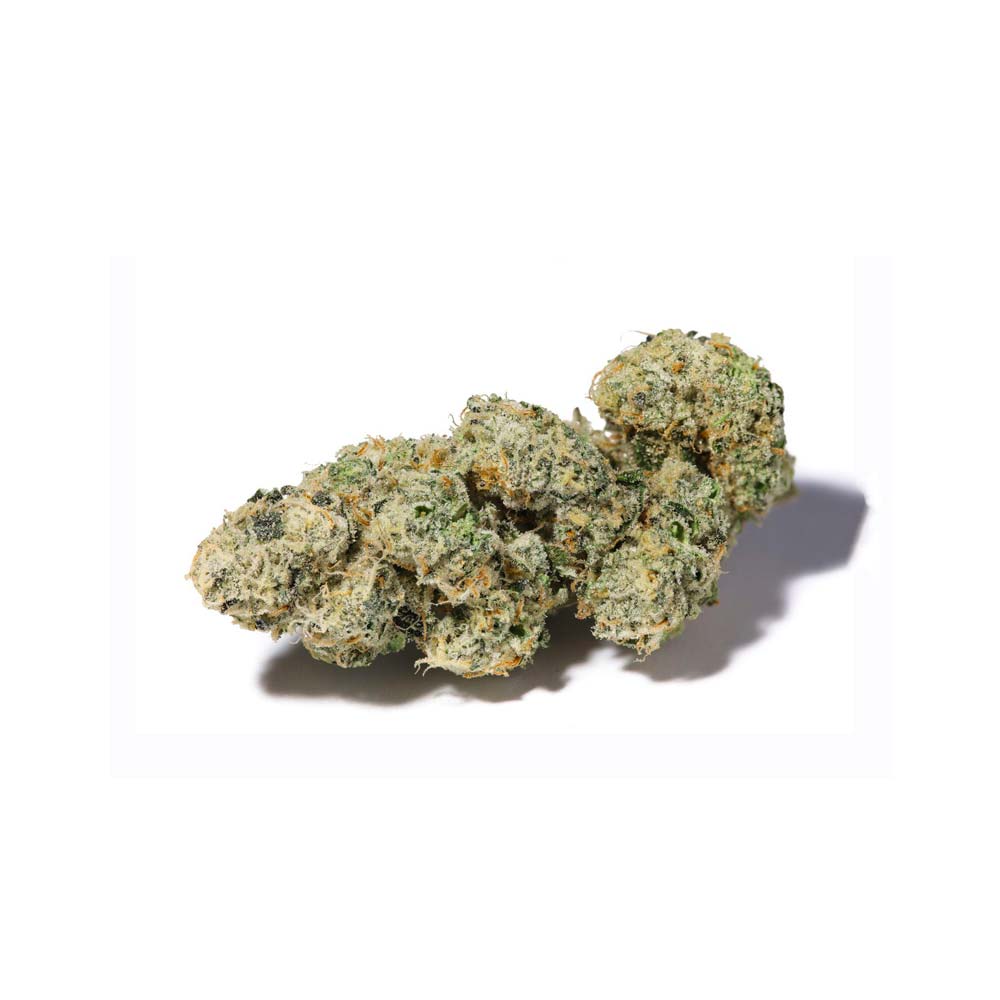
Cannabis: Properly dried and cured for optimal results
Flat surface: A smooth workspace for rolling
Quality rolling papers available in UK shops include popular brands like Rizla, OCB, and Elements. These papers come in different thicknesses, with thinner papers offering a slower burn and better taste profile.
Step 1: Prepare Your Cannabis
Begin by breaking down your cannabis into smaller pieces. This step is critical for how to roll a joint successfully. Using a grinder provides the best results—aim for a consistency similar to coarse sand. Grinding helps distribute the cannabis evenly throughout your joint, ensuring an even burn.
Avoid over-grinding, as this can make the material too fine and compact, restricting airflow. If you don’t have a grinder, carefully break the cannabis by hand or between your fingers, removing any stems and seeds.
Step 2: Create Your Filter or Roach
A filter tip provides structure and prevents cannabis debris from entering your mouth. Take a small piece of cardboard or rolling tip material—typically around 2-3 centimetres wide and about 4-5 centimetres long. Roll it into a cylinder, creating a tight but not overly compressed tube. This becomes your roach or crutch.
The roach serves multiple purposes: it prevents loose cannabis from falling out the end, provides a stable base for rolling, and gives you a handle so you don’t burn your lips. Many UK users prefer glass roach tips for durability and reusability.
Step 3: Distribute the Cannabis Evenly
Take a rolling paper and hold it with the adhesive strip facing away from you. Place your roach at one end of the paper, leaving enough space for your cannabis. Carefully distribute your ground cannabis along the paper’s length, creating an even line with a slight depression in the centre.
The amount of cannabis depends on your joint size. A standard 1¼” joint typically requires 0.3-0.5 grams, whilst King Size papers accommodate 0.5-1 gram. Distribute the material consistently—thicker sections will burn faster whilst thinner areas may go out.
Step 4: Shape and Tuck Your Joint
This is where most of the rolling happens. Using your thumbs and index fingers, gently roll the paper back and forth, shaping the cannabis into a tight cylinder. The motion should be smooth and consistent, working from the roach end upwards.
Once shaped, tuck the non-adhesive edge of the paper into the roll using your thumbs. This requires practice—the goal is creating an even, cylindrical shape. Work slowly and methodically, ensuring the cannabis sits tightly but not so firmly that airflow is completely restricted.
Step 5: Seal Your Joint
With the first edge tucked in, lick the adhesive strip lightly along its entire length. This moistens the glue without making the paper overly wet, which can cause it to tear or burn unevenly. Carefully roll the paper over the tucked edge, pressing gently to seal.
UK users recommend licking just enough to activate the adhesive—too much saliva weakens the paper and creates an uneven seal. The sealed joint should hold together firmly without gaps.
Step 6: Finishing Touches
Gently tap the joint vertically on a hard surface, point-side down, to settle the cannabis. This compacts the contents slightly, ensuring even burning. Some users prefer rolling the joint between their palms to further compress it.
Twist the paper at the end above your cannabis, creating a small point. This seals the joint completely and prevents cannabis from falling out during smoking. Optional: lightly roll the joint between your hands to help seal any remaining gaps.
Common Mistakes to Avoid
Several common errors can ruin your joint-rolling experience. Over-packing creates airflow problems and difficult smoking. Under-packing results in loose joints that fall apart. Rolling too tightly restricts airflow, whilst rolling too loosely causes the joint to be uneven and prone to canoeing (burning unevenly on one side).
Many beginners also fail to properly seal the adhesive strip, leading to joint failure during smoking. Take time with this step—it’s crucial for a successful final product.
Practice and Improvement
Learning how to roll a joint takes practice. Most people develop proficiency after rolling 15-20 joints. Keep several key principles in mind: consistency in cannabis distribution, even pressure during rolling, and proper sealing of the adhesive strip.
As your skills improve, you can experiment with different paper sizes, rolling techniques, and even double papers for longer-lasting joints. The UK cannabis community continues to develop innovative rolling methods and sharing techniques online.
Final Thoughts
Mastering how to roll a joint is a valuable skill for UK cannabis users. Whether for medical purposes or recreational use, a well-rolled joint provides a smooth, enjoyable experience. Remember that practice makes perfect—don’t be discouraged if your first attempts aren’t ideal. With patience and these step-by-step instructions, you’ll soon be rolling joints like an experienced user.
Medical Disclaimer: The information on this page is for educational purposes only and does not constitute medical advice. Always consult a licensed healthcare professional before starting any new treatment.
https://cannazen.co.uk/wp-content/uploads/2026/01/cosmic-mac-cannabis-doctor-prescription-pharmacy-shop-blute.jpg10001000CannaZen UK Editorial Teamhttps://cannazen.co.uk/wp-content/uploads/2026/01/cannazen-shop-lieferung-cannabis-weed-hemp-online.svgCannaZen UK Editorial Team2026-05-14 20:28:202026-05-23 10:53:39How to Roll a Joint UK — Step by Step Guide
How to Roll a Joint UK — Step by Step Guide
How to Roll a Joint UK — Step by Step Guide
Rolling a joint is a skill that many cannabis users in the UK wish to master. Whether you’re a seasoned enthusiast or a curious beginner, understanding the proper technique can significantly enhance your experience. This comprehensive guide will walk you through everything you need to know about how to roll a joint, from gathering materials to enjoying your finished product.
Understanding Cannabis Use in the UK
Cannabis remains a controlled substance in the United Kingdom, classified as a Schedule 2 drug under the Misuse of Drugs Act 1971. However, medical cannabis products have been legally available through prescription since November 2018, following changes to regulations that recognised their therapeutic potential. According to recent studies, approximately 3.8 million UK adults have used cannabis in the past year, making it the most widely used illicit drug in the country.
For those with valid medical prescriptions or in jurisdictions where cannabis use is permitted, knowing how to roll a joint properly is an essential skill that ensures efficient use of your product and a more enjoyable experience.
Before learning how to roll a joint, you’ll need to gather the necessary materials. The basics include:
Rolling papers: Available in various sizes, from single-width to king-size. Common brands in the UK include Rizla, Smoking, and Raw papers.
Filter tips (roach): Typically made from cardboard, these prevent inhalation of small particles and provide structural support.
Cannabis: Properly dried and cured flower, ground to an appropriate consistency.
Grinder: A three-chamber grinder helps achieve consistent texture.
Lighter or matches: For sealing the joint and smoking.
Some users prefer additional items such as a rolling machine (which automates the process) or hemp wick (for more controlled burning), though these aren’t essential for beginners.
Preparing Your Cannabis
Proper preparation is crucial for how to roll a joint successfully. Start by breaking down your cannabis flower into smaller pieces. Using a grinder produces the most consistent results—aim for a medium grind that isn’t powder-fine, as this can restrict airflow and cause uneven burning.
Remove any stems or seeds, as these contain minimal cannabinoids and will negatively affect your smoking experience. The cannabis should be dry enough that it crumbles slightly when handled, but not so dry that it becomes powder. If your cannabis feels slightly damp, spread it on a plate and air-dry it for an hour or two.
Creating Your Filter Tip
The filter tip, or roach, is an important component that many beginners overlook. To create one, take a small piece of cardboard (approximately 2-3 centimetres wide) and fold it into an accordion or “W” shape. The resulting cylinder should be roughly the diameter of a cigarette and approximately 2-3 centimetres long. This provides structural support and prevents small particles from reaching your mouth.
Rolling papers often come with filter tips included in the booklet, but you can create your own from business cards, postcards, or specialty roach cards available at UK tobacco shops and online retailers.
Step-by-Step Rolling Instructions
Step 1: Position Your Paper Hold a rolling paper between your thumbs and index fingers with the gummed edge facing you. The paper should sit horizontally with a slight curve formed by your fingers.
Step 2: Place the Filter Position your filter tip at one end of the paper. This becomes the mouthpiece of your joint and helps maintain its structure throughout smoking.
Step 3: Distribute Your Cannabis Sprinkle your ground cannabis along the length of the paper, creating an even line. Use approximately 0.5-1 gram for a standard joint, depending on your preference and the size of your rolling paper. Avoid overfilling, which makes the joint difficult to roll and seal.
Step 4: Create the Shape Using both hands, gently roll the paper between your fingers to distribute the cannabis evenly and create a cylindrical shape. This helps the cannabis settle into a uniform density before sealing.
Step 5: Begin Rolling Tuck the non-gummed edge of the paper around the cannabis cylinder, starting from the filter tip end. Use your thumbs to push the paper forward whilst your fingers guide the cannabis to remain centred.
Step 6: Seal the Joint Once you’ve completely wrapped the paper around the cannabis, lick the gummed edge and press it firmly against the overlapping paper. Roll it slowly to ensure a secure seal. Start from the filter end and work towards the opposite end, pressing gently to activate the adhesive.
Step 7: Pack and Finish Some users prefer to pack the open end gently with a pen or similar object to ensure even density throughout. Twist the excess paper at the end, or simply fold it inward if you prefer a more discreet appearance.
Common Mistakes to Avoid
Understanding what not to do is equally important when learning how to roll a joint. Common mistakes include overfilling, which creates an uneven burn and makes sealing difficult; using damp cannabis, which won’t burn properly; rolling too tightly, which restricts airflow; and failing to seal the gummed edge adequately, which causes the joint to unravel during smoking.
Another frequent error is placing the filter incorrectly or omitting it entirely. A proper filter is essential for structural integrity and safety.
Alternative Rolling Methods
If hand-rolling proves challenging initially, consider using a rolling machine. These simple devices automate much of the process and produce consistently sized joints. You simply place your cannabis in the machine, insert your paper and filter, and roll. Most rolling machines available in UK shops cost between £3-£8 and significantly reduce the learning curve.
Storage and Safety Considerations
Once you’ve successfully rolled a joint, proper storage is important. Keep pre-rolled joints in an airtight container away from direct sunlight and heat. They’ll maintain quality for approximately one week in ideal conditions, though they’re best consumed within a few days of rolling.
Always ensure you’re in a safe, legal environment where cannabis use is permitted, particularly if you’re using medical cannabis prescribed by your doctor. Never drive or operate machinery whilst impaired.
Conclusion
Learning how to roll a joint is a practical skill that becomes easier with practice. By following these step-by-step instructions, gathering quality materials, and avoiding common mistakes, you’ll soon be rolling professional-looking joints. Remember that practice is essential—your first attempts may be imperfect, but persistence leads to improvement. Whether you’re using cannabis for medical purposes under professional guidance or exploring this skill for other reasons, mastering the proper technique enhances both safety and enjoyment.
“`
Medical Disclaimer: The information on this page is for educational purposes only and does not constitute medical advice. Always consult a licensed healthcare professional before starting any new treatment.
https://cannazen.co.uk/wp-content/uploads/2026/01/cosmic-mac-cannabis-doctor-prescription-pharmacy-shop-blute.jpg10001000CannaZen UK Editorial Teamhttps://cannazen.co.uk/wp-content/uploads/2026/01/cannazen-shop-lieferung-cannabis-weed-hemp-online.svgCannaZen UK Editorial Team2026-05-14 20:27:522026-05-15 18:51:58How to Roll a Joint UK — Step by Step Guide
We may request cookies to be set on your device. We use cookies to let us know when you visit our websites, how you interact with us, to enrich your user experience, and to customize your relationship with our website.
Click on the different category headings to find out more. You can also change some of your preferences. Note that blocking some types of cookies may impact your experience on our websites and the services we are able to offer.
Essential Website Cookies
These cookies are strictly necessary to provide you with services available through our website and to use some of its features.
Because these cookies are strictly necessary to deliver the website, refusing them will have impact how our site functions. You always can block or delete cookies by changing your browser settings and force blocking all cookies on this website. But this will always prompt you to accept/refuse cookies when revisiting our site.
We fully respect if you want to refuse cookies but to avoid asking you again and again kindly allow us to store a cookie for that. You are free to opt out any time or opt in for other cookies to get a better experience. If you refuse cookies we will remove all set cookies in our domain.
We provide you with a list of stored cookies on your computer in our domain so you can check what we stored. Due to security reasons we are not able to show or modify cookies from other domains. You can check these in your browser security settings.
Google Analytics Cookies
These cookies collect information that is used either in aggregate form to help us understand how our website is being used or how effective our marketing campaigns are, or to help us customize our website and application for you in order to enhance your experience.
If you do not want that we track your visit to our site you can disable tracking in your browser here:
Other external services
We also use different external services like Google Webfonts, Google Maps, and external Video providers. Since these providers may collect personal data like your IP address we allow you to block them here. Please be aware that this might heavily reduce the functionality and appearance of our site. Changes will take effect once you reload the page.
Google Webfont Settings:
Google Map Settings:
Google reCaptcha Settings:
Vimeo and Youtube video embeds:
Other cookies
The following cookies are also needed - You can choose if you want to allow them:
Privacy Policy
You can read about our cookies and privacy settings in detail on our Privacy Policy Page.